

Captioning YouTube Videos
This resource is designed to be printed as a one page PDF file. An HTML version is also available below.
Using the Video Manager (Content Creator 2018)
You can add and edit captions for videos owned by your YouTube account.
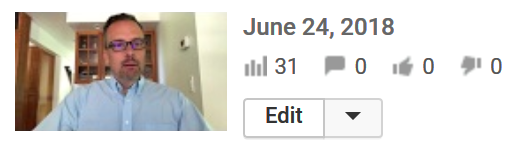
- Go to the Video Manager and click the Edit button for the video you want to caption.

- Click the Subtitles/CC tab at the top of the page.
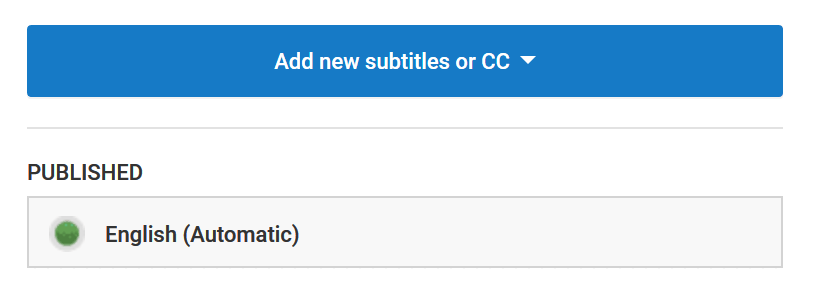
- YouTube may have already auto-captioned your video. If so, Published: English (Automatic) (or the language of your video) will appear to the right of your video. Using speech recognition technology, YouTube can generate captions automatically for videos in English, Dutch, French, German, Italian, Japanese, Korean, Portuguese, Russian, or Spanish. Results are best when the audio is clear, the speaker’s voice is distinct, and ambient noise is minimized. Even when recorded under optimal conditions, though, most videos need some manual edits to ensure accuracy.
Editing Automatic Captions
Generating Captions
- Click the English (Automatic) option if available.
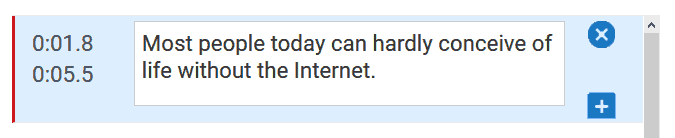
- Test the captions for accuracy by playing the video and observing the captions. You will probably need to add punctuation to separate sentences.
- To edit captions, click the Edit button (upper right). Select the line that needs repair in the captioning editor text box, and make the edits.
- If needed, you can alter the timing by changing the timecode values, or by clicking and dragging the vertical dividers below the video.
- If desired, click the Add below (+) or Remove (×) icons to add or remove caption segments.
- Repeat these steps until you are satisfed with the captions.
- Click Publish, and a new English caption track will be created.
Removing Inaccurate Captions
To remove a caption track entirely:
- Under the Subtitles/CC tab, select the original automatic caption file.
- At the upper right, click Unpublish and then Delete draft.
- You can then Add new subtitles or CC as you wish.
Uploading Caption or Transcript Files
If you already have a transcript or caption file, we recommend simply uploading that file to YouTube.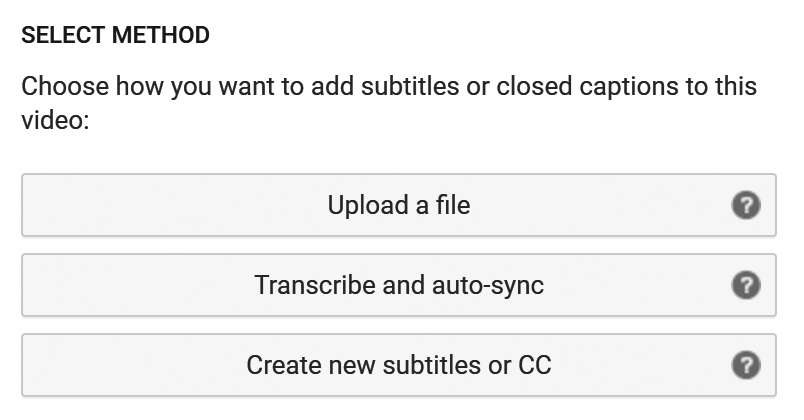
Uploading a Caption File
Caption files contain both text and time codes.
- Click Upload a File. Select Subtitles file type and click Browse. After choosing a file, click Upload.
- Preview the captions in the editor and make any necessary edits, then click Publish.
Uploading a Transcript File
Transcript files only contain text, and are saved as plain text files (.txt). YouTube can automatically synchronize your transcript with the video to create a caption file.
- Click Upload a File. Select Transcript file type and click Browse. After choosing a file, click Upload.
- Your transcript text will appear alongside the video. To synchronize it with the video, click Set timings. This automatically aligns the timings of your transcript to your video within YouTube. This will take a few minutes. Once the captioning file is available, review the timing to ensure accuracy, and click Publish.
Finding Captioned Media
Captioned videos are identifed with CC. However, this does not guarantee the quality of the captions.
To limit a YouTube search to captioned videos only, perform a search as usual, and then click Filter (upper right), and under Features, click Subtitles/CC.
You can also type your search terms into the YouTube search bar, followed by a comma and the letters cc (e.g. “web accessibility, cc”).